Thinking of applying for Dutch nationality? Amanda van Mulligen finally took the big step. Here she shares, in 10 simple steps, her experience of the ‘Optie’ procedure.
How I Became a Kaaskop (or 10 Steps to Dutch Nationality Through the Option Procedure)
“Gefeliciteerd! Jij bent nu een echte kaaskop,” my Dutch friend said giving me the traditional three kisses as we stood on the school playground. I have been called many things over the year, but a ‘real cheese head’ is a new one. It’s not a title I can add to my cv but nonetheless I am proud of my new dual nationality status. Here are the ten steps I took to gain Dutch nationality.
1. A Reason to Become Dutch
I have been in the Netherlands for 16 years now, and until a couple of months ago being able to obtain a Dutch passport didn’t attract me; it offers me nothing beyond my British passport. Until Brexit. So the first step is definitely a reason to go through the process.
2. Choose a Process
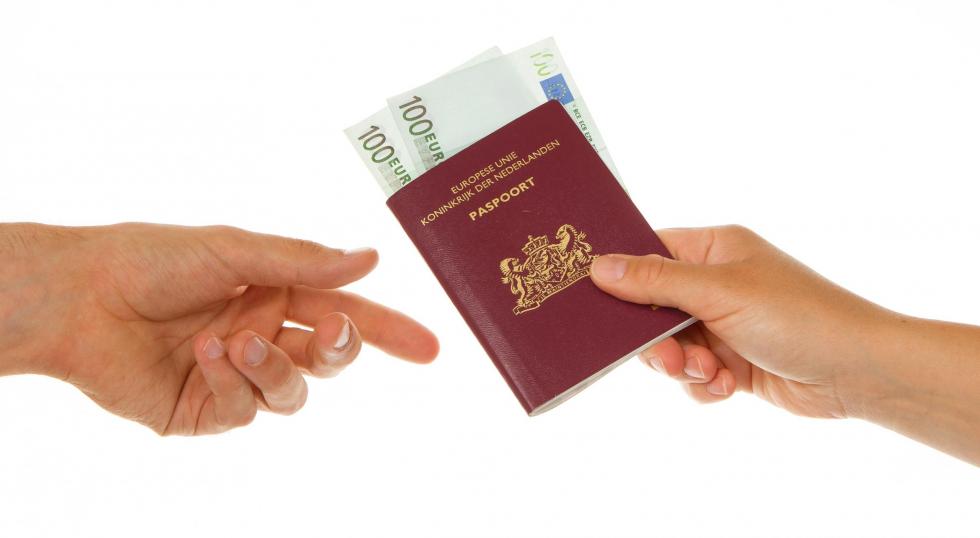
There are three ways to obtain Dutch nationality: automatically through law, naturalisation (naturalisatie), or option (optie). This article is about the option process only.
Once I started digging, I realised I qualified for the option procedure under the condition: “You are married to a Dutch citizen for a minimum of 3 years and have legally lived in the Netherlands for an uninterrupted period of at least 15 years.”
3. Do A Happy Dance
Should you be eligible to take the “simplified procedure for obtaining Dutch citizenship” you should truly count yourself lucky. And I really did. As well as a simplified process, it has several other advantages:
- It is a lot cheaper than naturalisation (€179 instead of €840) [2016]. Knowing that my fifteen-year wait to make my application had saved us hundreds of euros motivated my Dutch husband to do a happy dance.
- It takes around three months (instead of a year with the naturalisation process).
- There are no Dutch language tests or civic integration exam (inburgering).
- You can keep your birth nationality, as long as your country permits it.
- It can all be done with your local municipality (gemeente) instead of the Immigration and Naturalisation Service (IND).
4. Collate Documents
The option procedure requires that you show a number of documents at the first appointment you have at your gemeente. You need:
- A valid travel document (e.g. a passport)
- A valid residence permit (if you are required to have one)
- A birth certificate (translated if is it not in Dutch, French, English or German and then legalised)
There may be other documents required depending on your status so check with your local municipality.
5. Make an Appointment
You need to make an appointment with the gemeente you are registered with, usually online.
6. Go to Your Appointment
I turned up on time and declared I’d like to be Dutch. I was then asked a series of questions. The answers to these questions, and the correct documentation, determines whether the gemeente considers you eligible to make an application using the option procedure.
7. Be On the Ball
Make sure you are aware of the requirements so that you can answer the questions you are asked, present the documentation you need to show and avoid potential pitfalls.
I faced two during my initial appointment.
I was asked if I could show my civil integration exam results. I chirped up that for the option process this wasn’t a requirement. It was dismissed with mutterings of “Oh nee, natuurlijk niet”.
Secondly, dates are important. Although I arrived in the Netherlands in September 2000, the IND only processed my residence permit application in December 2001. (Long story but the short version is my file was lost in the bowels of bureaucracy.)
According to the system, my ‘legal’ stay in the Netherlands was therefore six months shy of the required 15 years. My husband pointed out that as I am British I didn’t actually need a residence permit, and so the date I first registered in a Dutch system (September 2000) was the date that should be used. You see how complicated and confusing it can get if you are not on the ball?
A third issue was one I avoided. I was told if my British passport had been in my married name it would have made things harder. So if your existing passport contains your married name do some investigation as you may need further documentation.
8. Make a New Appointment and Turn Up at That One Too 
In my case, I had to make a new appointment for a few weeks later to file my application. The good news is that this appointment was pain-free. The forms were waiting for me and all I needed to do was read through, sign, and hand them back. Then there was the small matter of payment.
Once the application is filed the authorities carry out a judicial background check. Your application will only be approved if: “In the previous 4 years you have not received a prison sentence, training or community service order or a large fine (€ 810 or more). Nor may there be any criminal proceedings pending against you.”
9. Wait for a Letter from the Mayor
Once the legal checks have been carried out and your application for Dutch nationality is approved, the local mayor will send you an invitation to the next naturalisation ceremony at the town hall.
10. Go to the Naturalisation Ceremony
This is a mandatory part of the process. Dress up and gather the family together so that you can become Dutch in a feestelijk manner.
The mayor (or stand-in) says a few words about what it means to be a Dutch citizen. You are invited up to the front to make a declaration of verbondenheid (allegiance) and then presented with a document that confirms your newly acquired ‘Dutchness’. Gefeliciteerd!
photo credits: Main pic – Yay Images. All other pics – Amanda van Mulligen
Amanda van Mulligen
Amanda van Mulligen is a mother, writer and expat. In that order. She is British-born but has called the Netherlands home since 2000. She is 'mama' to three boys, and blogs about her expat way of living, loving and parenting over at Turning Dutch. You can find out more about her on her Facebook Page or follow her on Twitter.